Installing Eclipse
This tutorial will walk you through the steps of downloading the latest version of Eclipse, Eclipse Neon.
All students will be required to have this version running on their computer since there are many important
bugs that have been corrected with this version. The installation should take approximately 10 minutes.
- Go to http://www.oracle.com/technetwork/java/javase/downloads/jdk8-downloads-2133151.html
to reach the download website for the latest version of java.
If you are using a Macbook, select the option in the image below.
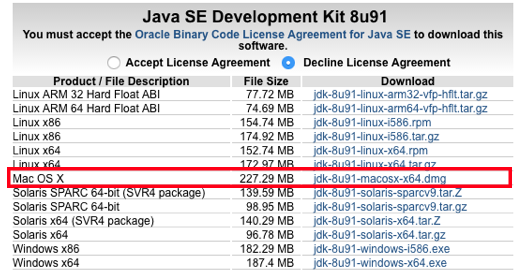
If you are using a Windows computer select the option in the image below. Ensure that you download the version that corresponds\n to your correct Windows operating system.

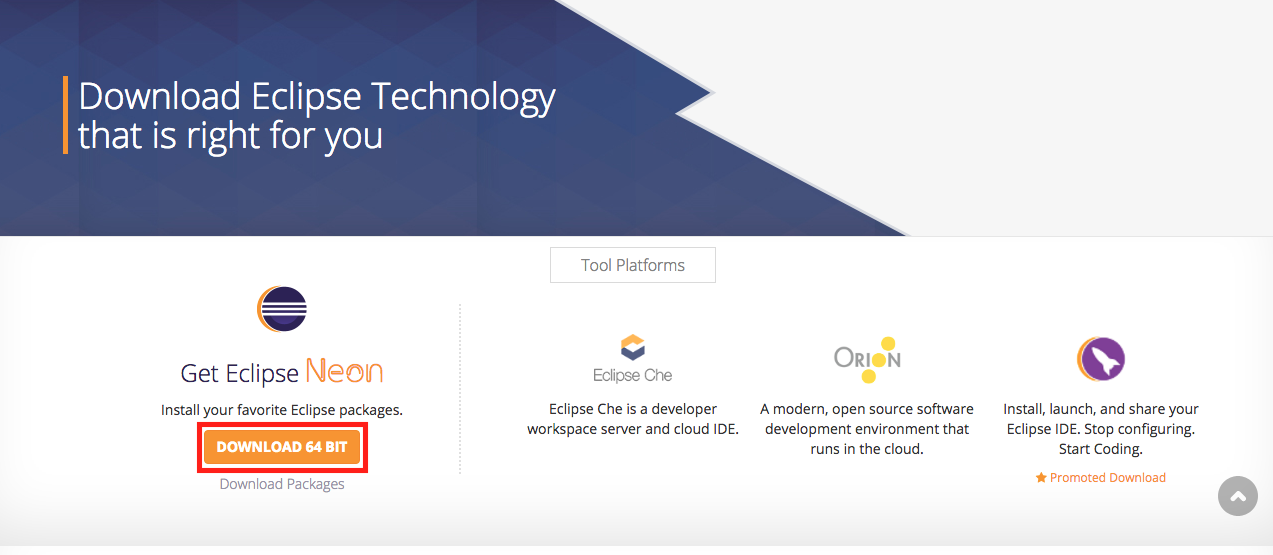
- Download Eclipse Neon by accessing https://www.eclipse.org/downloads/. Select the button as seen in the screenshot below.
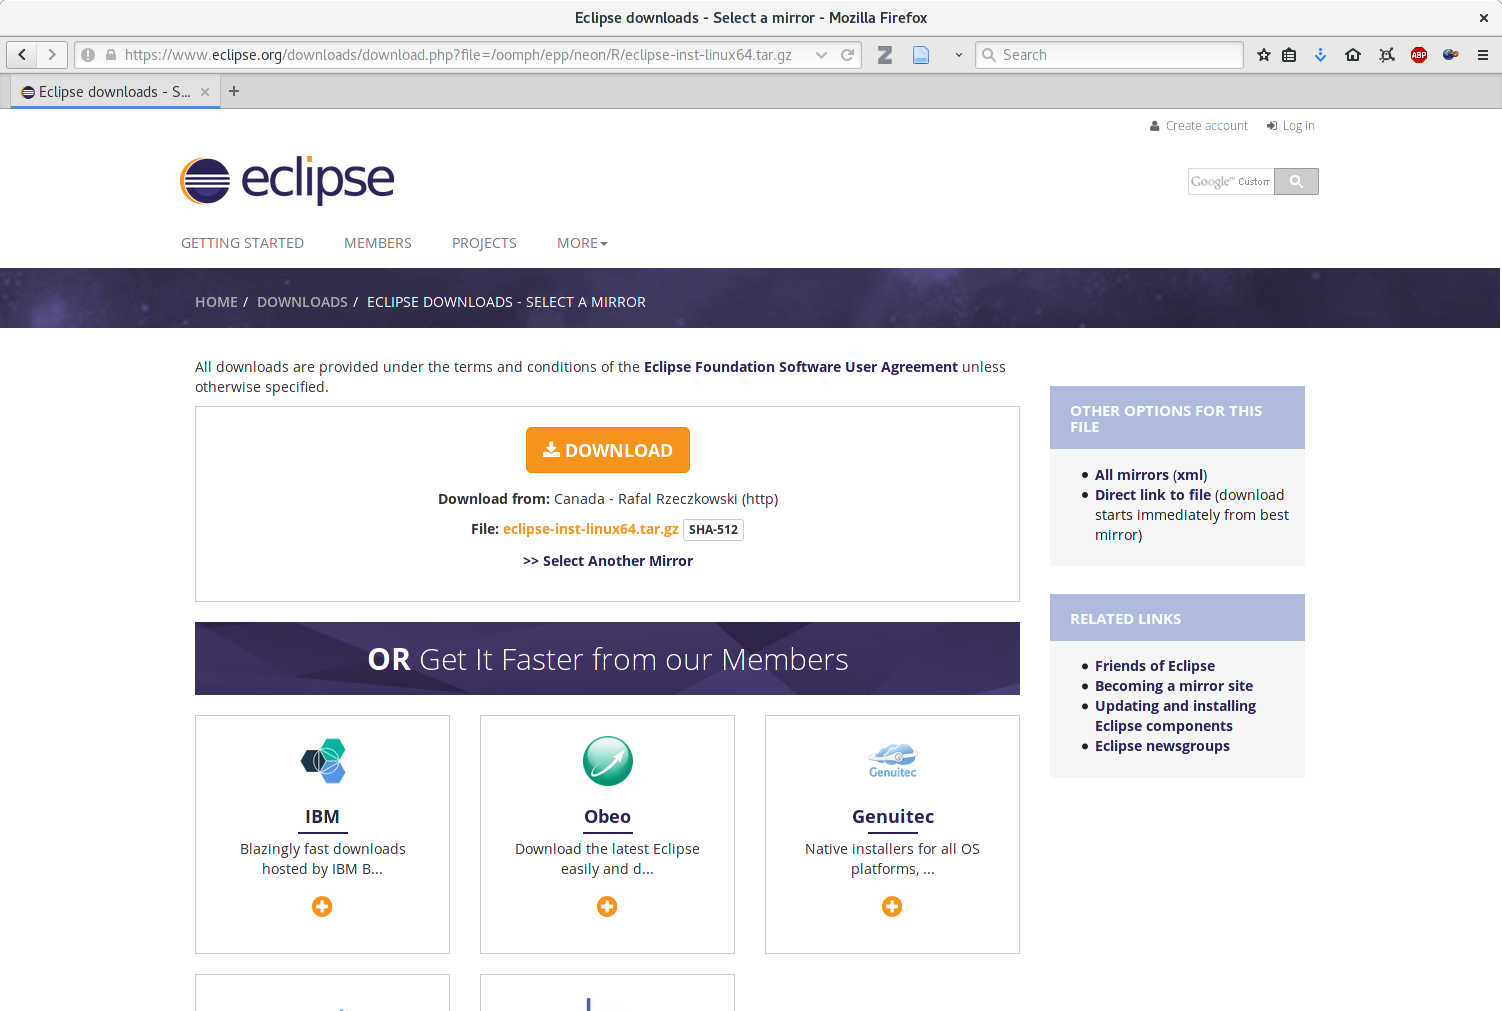
- Select the DOWNLOAD button as seen in the screenshot below and save the downloaded file to another spot, such as Desktop or Applications.
- Open the Eclipse Installer that was just downloaded.
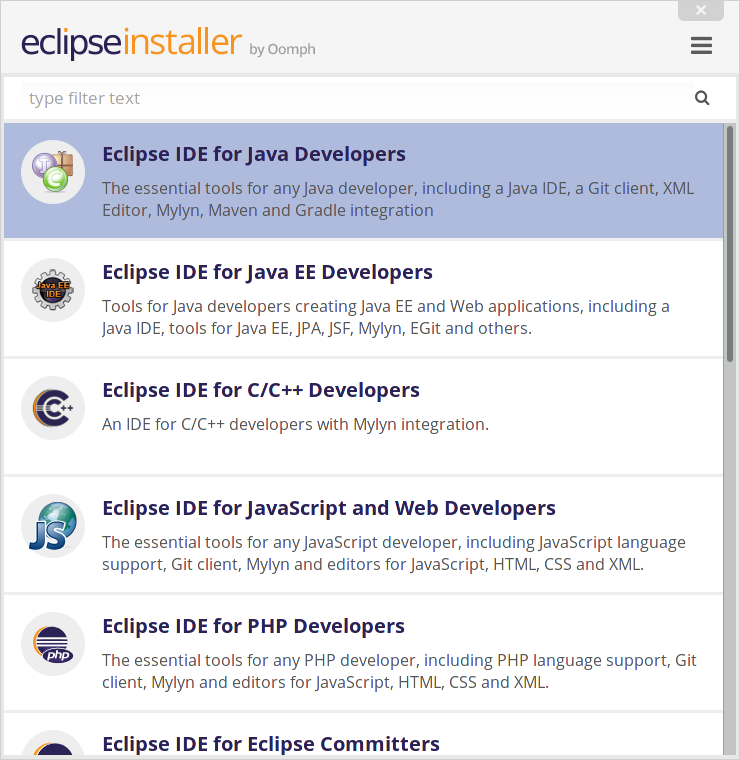
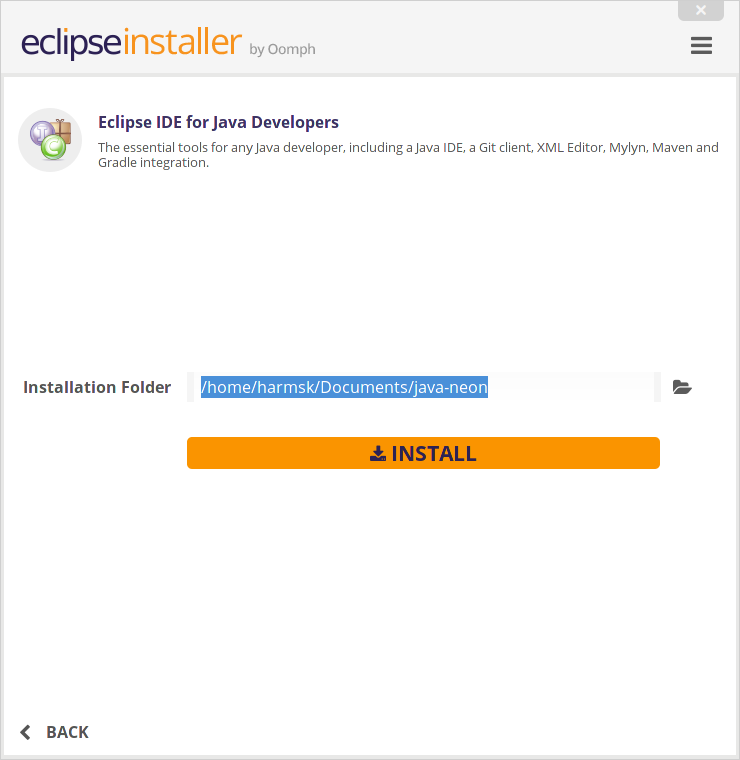
- Select Eclipse IDE For Java Developers in the window that pops up.
- Proceed with the default installation folder. For example, my default was /home/(myname)/Documents/java-neon.
- Select INSTALL.
- Accept the licensing agreements to finish the installation.
- Select LAUNCH.
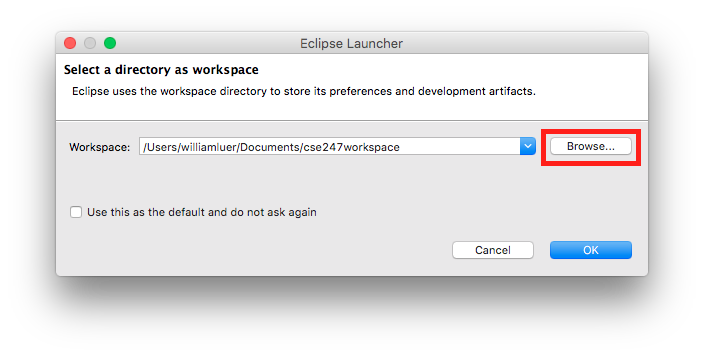
- When prompted to select a directory as a workspace, select Browse..., create a new folder, and name it cse247workspace.
- Select the small 'x' next to the Welcome tab.
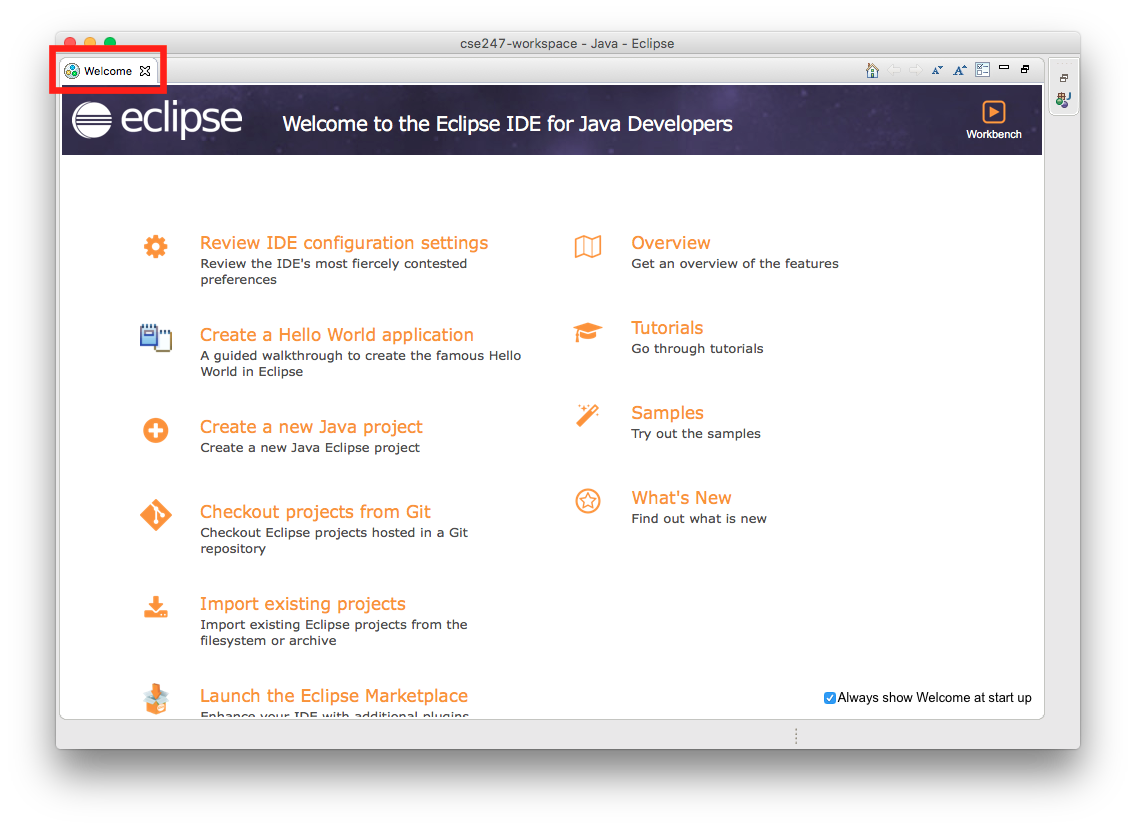
- You should be all finished with the installation of Eclipse Neon. Proceed to the Get Code from Git section to get set up with your repository.


